Dailirelis Perez Lopez
You may have heard of various techniques for making hair light, right? How about knowing a little more about the lights on the cap, a very traditional technique that never goes out of style?
To help you understand how it works and get inspired, we've prepared a guide with tips, photos, and tutorials. In addition, we list the main differences between the cap technique and another quite famous technique. Just see!
Content Index:
- 10 Basic Tips for Making Cap Lights
- How to do it alone
- Before and after
- Lights on Cap x Lights on Paper
10 Basic Tips for Making Cap Lights
To make lights with this technique it is important to follow some tips and take some specific care. These are details that will help you get a healthier and more amazing result. Know more:
- Do the test: test stain on a strand before performing the procedure.
- Prepare the hair before: Before making the lights, it is important to have hydrated and well-groomed hair.
- Use talcum powder: Talcum powder can help when you put on the cap, use it to prevent the threads from sticking and making the process painful.
- Watch out for virgin hair: If your hair is virgin, start painting by the ends as they take longer to lighten than root.
- Untangle the hair well: To avoid breaking the strands, comb your hair well and leave it well untangled.
- Beware of needle skew: When pulling threads to discolor, do not tilt the needle too far. Thus, the probability of breaking the wires is less.
- Divide the parts well: When parting the hair, pass the bleach on each part that has been left outside the cap separately so that it does not stain.
- Extra caution when tinting: To tint the hair it is not necessary to remove the cap. If the wires turn yellow, you can use a violet corrector.
- Touching up the root: apply only to the grown and natural part after dividing the pulled parts of the cap evenly.
- Touching Up All Hair: In this case, let the root grow to the end as the? root opens? much faster than the rest of the hair.
In summary, these are some basic tips you should know before making your lights on the cap. You have to understand a lot of the technique to put it into practice, after all, discoloring hair requires a lot of care.
Read also: Blonde lights: 75 photos and care to maintain this powerful look
How to make lights on the cap by yourself
If you want to test the technique without having to go to the salon, either to touch up the root or do the process from the start, check out some tips from those who have done it:
Lights on the cap at home
The video teaches you how to do the cap lights technique in a very easy way. In the tutorial you learn how to make lights in small quantities to give an air of hair reflections.
Retouching Platinum Lights on Cap
To illustrate the retouching of the lights on the cap and the platinum tinting, this video is a great help. Here you will learn how to use the technique to brush up your hair and get to the most desired tone of the moment.
Read also: Curly Hair with Lights: 60 Ideas of This Amazing Style
Lights on the cap in curly hair
In the video, Lari teaches how to make the lights on the cap in curly hair. Some tips are very important to prevent hair from breaking or staining. The tutorial also teaches that detangling hair is even more important in curly hair.
Surely these videos will help you make the lights on your own more uncomplicated. YouTubers tips are great and can make a difference at the time of the procedure!
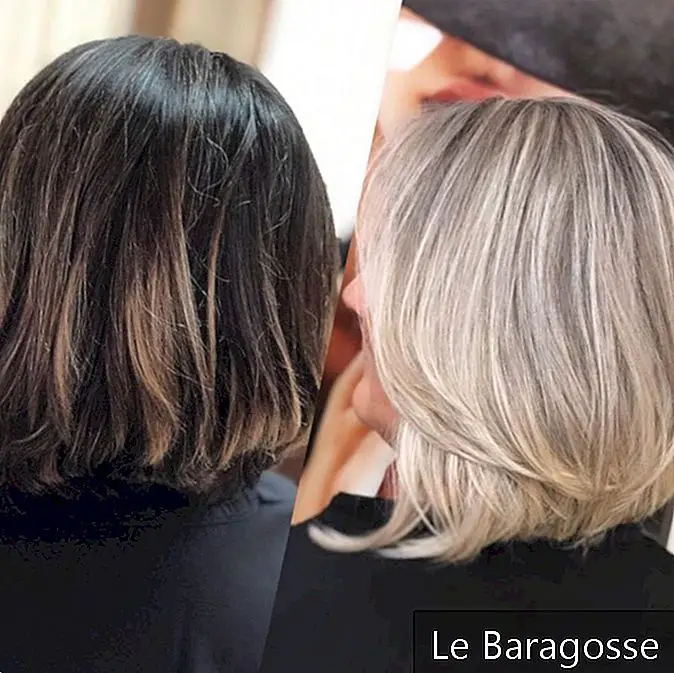
Cap Lights: Before and After
As an example, we have selected some amazing before-and-after light photos on the cap. This makes it easier to choose your preferred tone and style. Check out:
1. The lights on the cap make your hair look amazing and bright

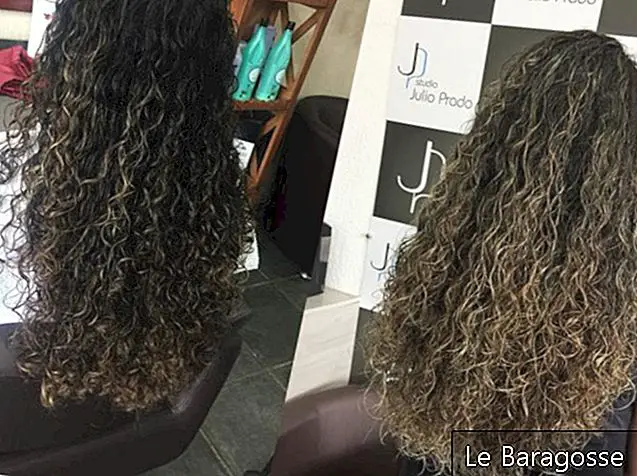
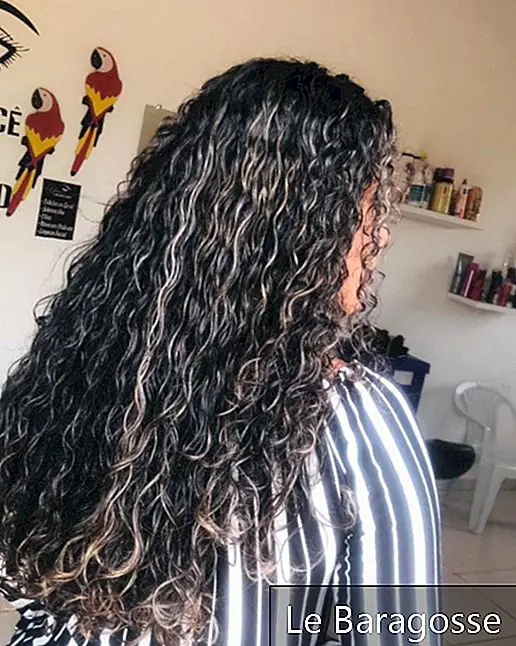
2. Also look amazing on curly hair
3. Lights can be in small quantities just to give a bright
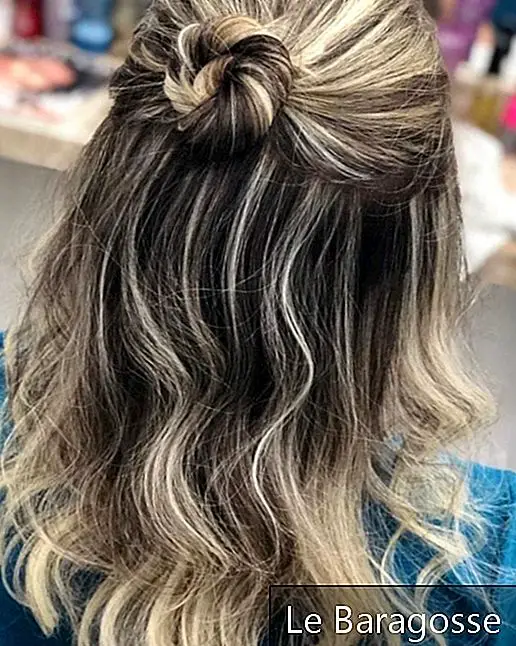
4. The smoky root also works very well in the technique.
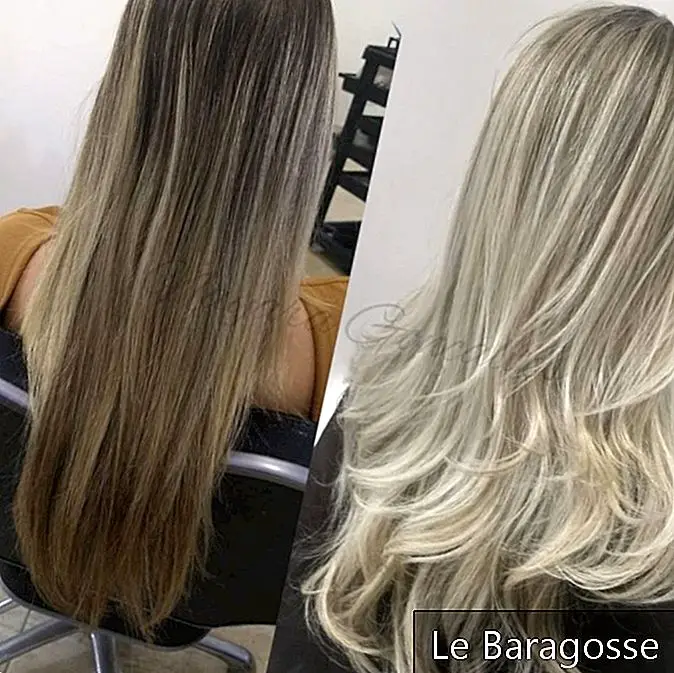
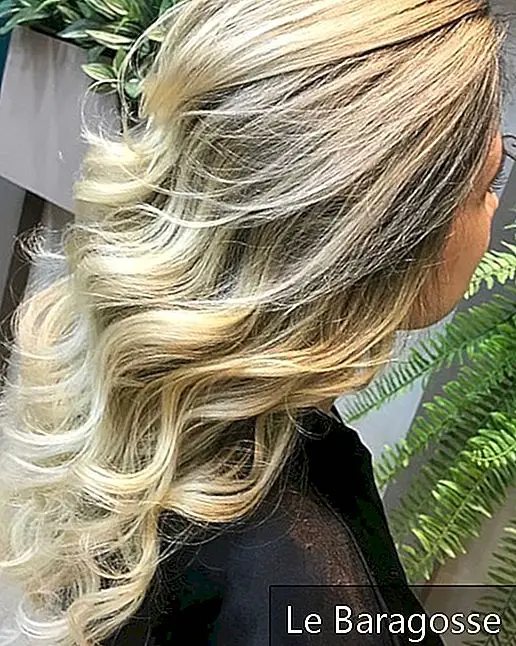
5. Lights in platinum-colored cap are on high

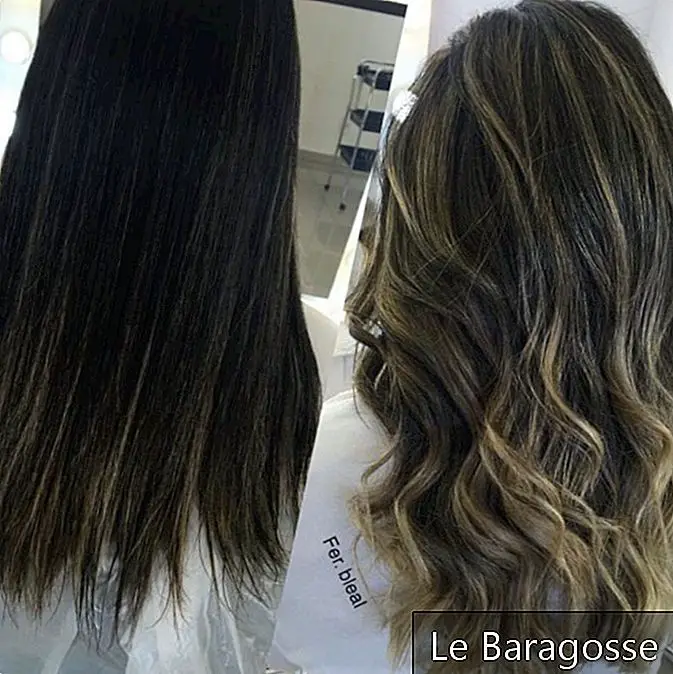
6. Amazing this before and after the lights on the cap in dark hair, right?

7. Short hair cap lights also look perfect
8. Regardless of hair length, the lights work very well

9. Pearly shades are also a great choice.

10. Despite being a traditional technique, the lights made on the cap are very modern

Lights on Cap x Lights on Paper
There are some differences between the paper and cap light techniques. These differences range from wick sizes to the effectiveness of the procedure. To help you choose the best one for you, we list the main points of each one.
Read also: Platinum Lights: 65 Inspirations for All Hair Types
In the cap is easier to reach the root of the hair

The technique is great for those who don't want to stain their hair, as it only tints the discolored strands
However, the possibility of breaking the wires is much greater.

Already the lights on paper preserve the root

With the paper technique, it is easier to control the result
It is harder to tint your hair because you need to use the full length of the hair
Now that you have known some of the key differences between cap lights and paper lights, choosing the technique will greatly depend on the health of the wires and the result you are looking for.
In short, the technique is amazing and can even be done at home. Having light hair or dream blonde is a lot easier than you might think. How about investing in these tips and rocking the lights?
The No BS Guide to Choosing a Class for PvP - Classic WoW (April 2024)
- Hair
- 1,230